
I made this cake recently for step-grandfather on his birthday and it's quickly become a favourite of mine, Firstly, because I cannot get enough of salted caramel but equally because it looks so impressive. Adding another layer to a standard cake is such a simple way to make it look better. Originally when I made this cake I did 4 layers, which looked amazing but it is a lot of cake so today I'm just sticking to 3.
You could use any sponge cake recipe in the world for this but I use this one.
If you have a recipe you prefer then use it, just make sure you at least double the ingredients.
Ingredients:
350g of slightly salted butter
315g of caster sugar
350g of self raising flour
6 eggs
2 tsp of vanilla extract
for the icing:250g butter (the whole pack usually)
600g icing sugar - ish.
Salted Caramel Sauce (I use Sainsbury's Taste the Difference pre-made one)
300g chocolate (I use half milk/half dark)
Things that come in handy:
315g of caster sugar
350g of self raising flour
6 eggs
2 tsp of vanilla extract
for the icing:250g butter (the whole pack usually)
600g icing sugar - ish.
Salted Caramel Sauce (I use Sainsbury's Taste the Difference pre-made one)
300g chocolate (I use half milk/half dark)
Things that come in handy:
3 20cm cake tins
A cake turntable
A icing scraper
Not having these things is fine - I didn't when I first made this cake. If you don't have enough cake tins you can make one cake and slice it into two or three with a bread knife.
A cake turntable
A icing scraper
Not having these things is fine - I didn't when I first made this cake. If you don't have enough cake tins you can make one cake and slice it into two or three with a bread knife.
What to do:
Line your tins and preheat oven to 190. Cream together your butter, sugar and vanilla extract in a bowl. Add the eggs one at a time, plus a little flour each time. Fold in the remaining flour. Divide mixture into 3 cake tins (or however many you have, you can always slice your cake once baked). Bake for 20-25 minutes or until ready. Remove the cake from the tins and allow to cool. Assemble the cake with a thick layer of buttercream inbetween each layer.

The icing on top:
The salted caramel element of the cake comes in with the buttercream. A trick I do with most my cakes is just to add a spoonful or two of whatever flavour you desire to the buttercream. For example, I love baking a chocolate cake and adding two spoonfulls of peanut butter into my buttercream.
For this cake I add A LOT of Salted Caramel sauce to my buttercream (usually the whole jar) but add to your preference.
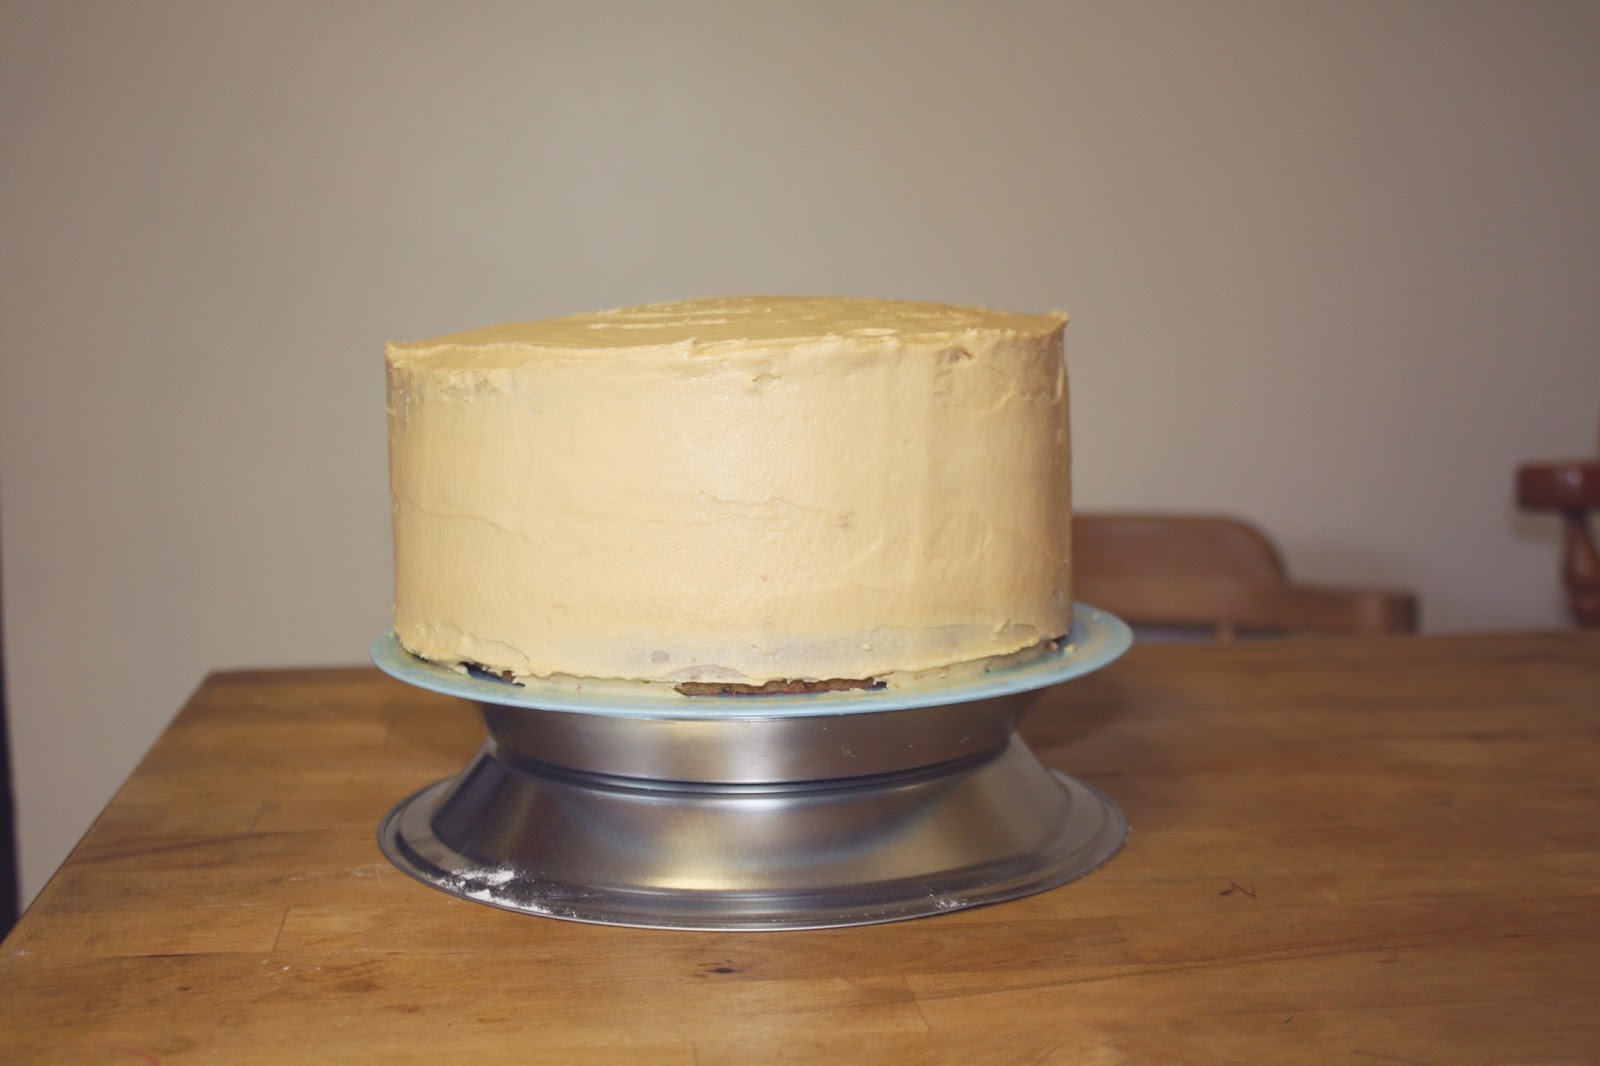
If you find icing cakes really hard and haven't tried a crumb coat before then I really recommend it. Once your cake is fully cooled and assembled, smooth a thin layer of buttercream all over your cake and scrape off any excess. This step cements any crumbs in place and stops them showing through on your final icing. A crumb coat is like plastering your walls before painting them. Allow this layer to set by refrigerating your cake before moving on to the final layer of icing.

Smother the cake completely in icing and then use a scraper (if you have one) or a palette knife to smooth out the icing and gradually scrape off the excess. It doesn't matter if it's not neat or perfect because you'll be dripping chocolate over it. Place back in the fridge while you melt the chocolate.
I melt mine in the microwave in a glass measuring jug, as this helps to pour it over the cake.
Let the chocolate cool slightly, then poor around the edges of the cake and let it dribble down the sides, then add the rest to the centre and spread it over the top of the cake.
Let the chocolate cool slightly, then poor around the edges of the cake and let it dribble down the sides, then add the rest to the centre and spread it over the top of the cake.

I hope you liked me adding something different to my blog. Let me know if you'd enjoy seeing more posts like this as well as the regular beauty chat.
Chloë
x


